Windows で EC-CUBE4.3.0 + xampp + PHP + vs code + xdebug でデバッグ環境の構築
- 2024.09.09
- DEVELOP
xamppとxdebugでデバッグ環境の構築
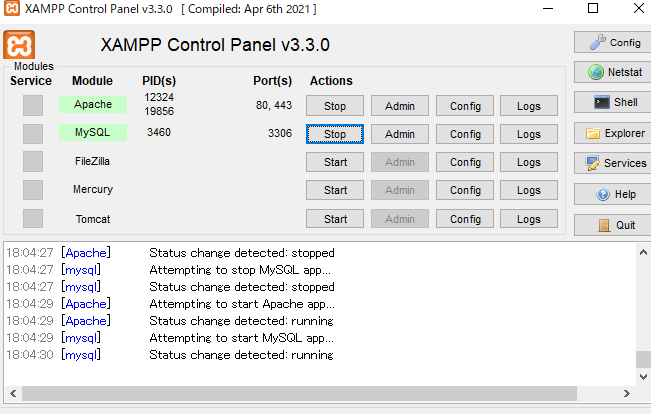
xampp インストール
Xdebugを入手
コマンドラインでPHP.iniの設定を確認する。
php -i > phpinfo.txt
出力したphpinfo.txtの内容を
ダウンロードしたdllを\xampp\php\ext\にphp_xdebug.dllとして配置
- Download php_xdebug-3.3.2-8.2-vs16-x86_64.dll
- Move the downloaded file to C:\xampp\php\ext, and rename it to
php_xdebug.dll - Update
C:\xampp\php\php.inito have the line:zend_extension = xdebug
その後、php.ini に以下を追加する。
[XDebug]
zend_extension = xdebug
xdebug.mode=debug
xdebug.start_with_request=yes
xdebug.client_host="localhost"
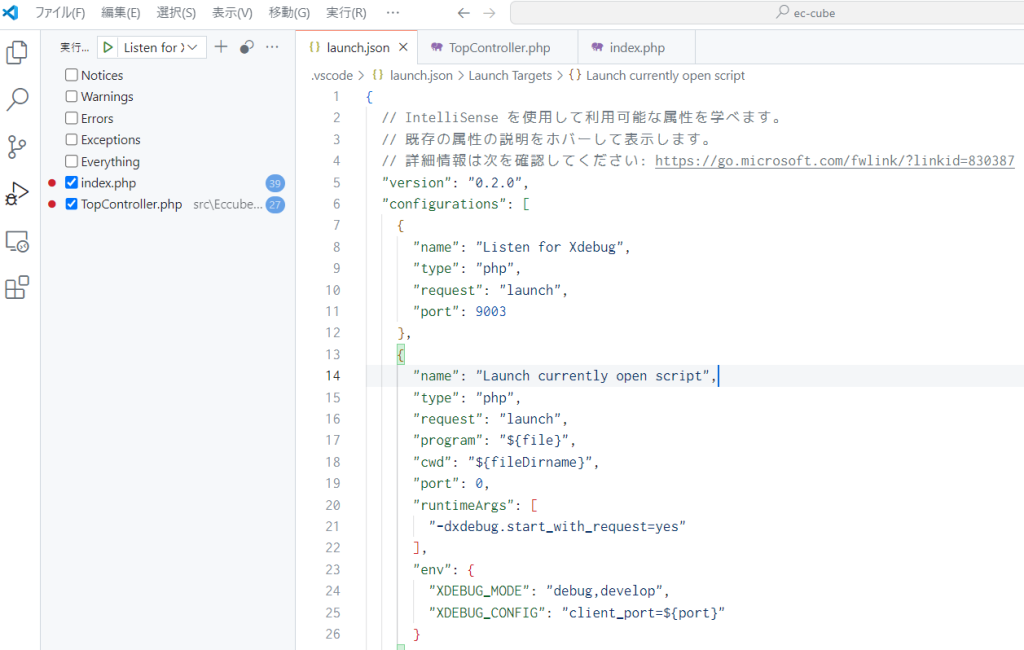
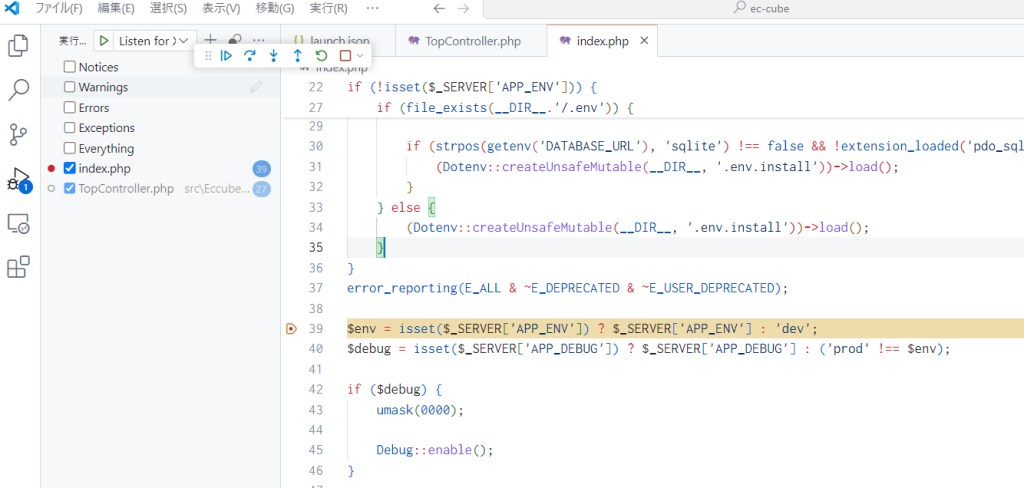
xdebug.client_port =9003VS CODE で、左メニューの虫ボタンより、デバッグの設定を行う。デバッグ名は、PHP の Listen for Xdebug。
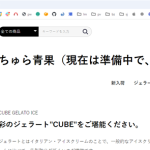
サイトを表示する。
http://localhost/
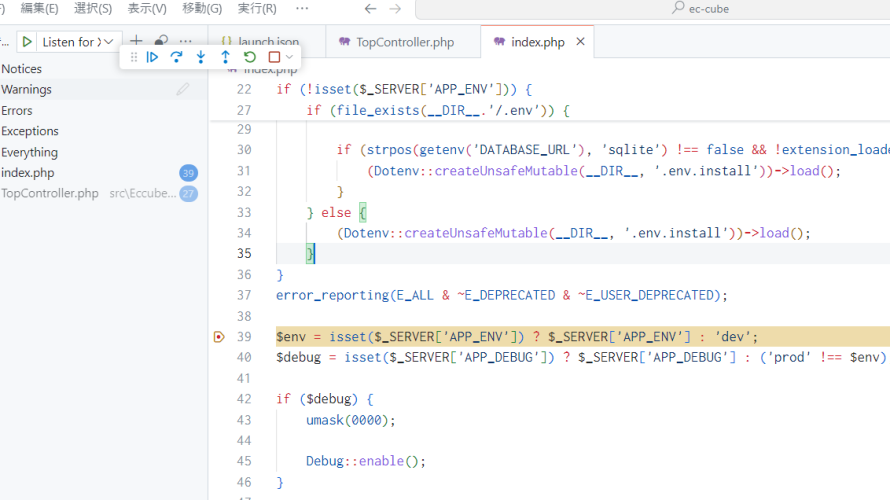
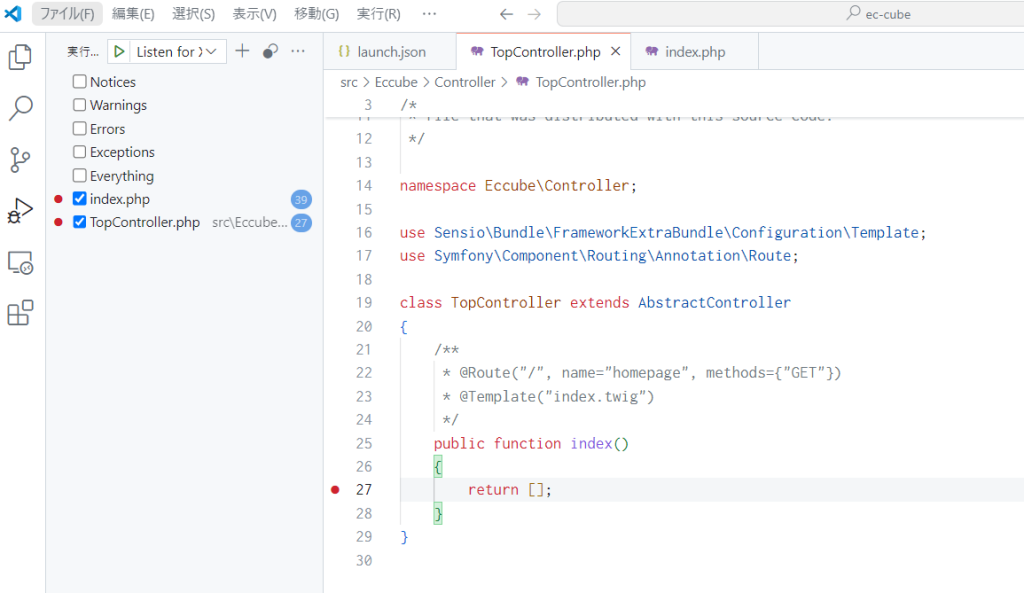
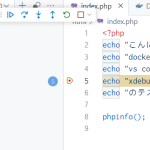
テストでブレークポイント設定し確認する。
サイトをリロードして確認。
参考にしたサイト
https://doc4.ec-cube.net/quickstart/gui_win_install
-
前の記事
Windowsで、Docker + apache + PHP + Xdebugによるデバッグ環境の構築 2024.09.09
-
次の記事
Windows Dockerローカル環境に さくらレンタルサーバーにある EC CUBE 4.2.0 を引っ越してローカル開発環境を構築する。 2024.10.12